°°°°°Please click on each picture to see details°°°°°
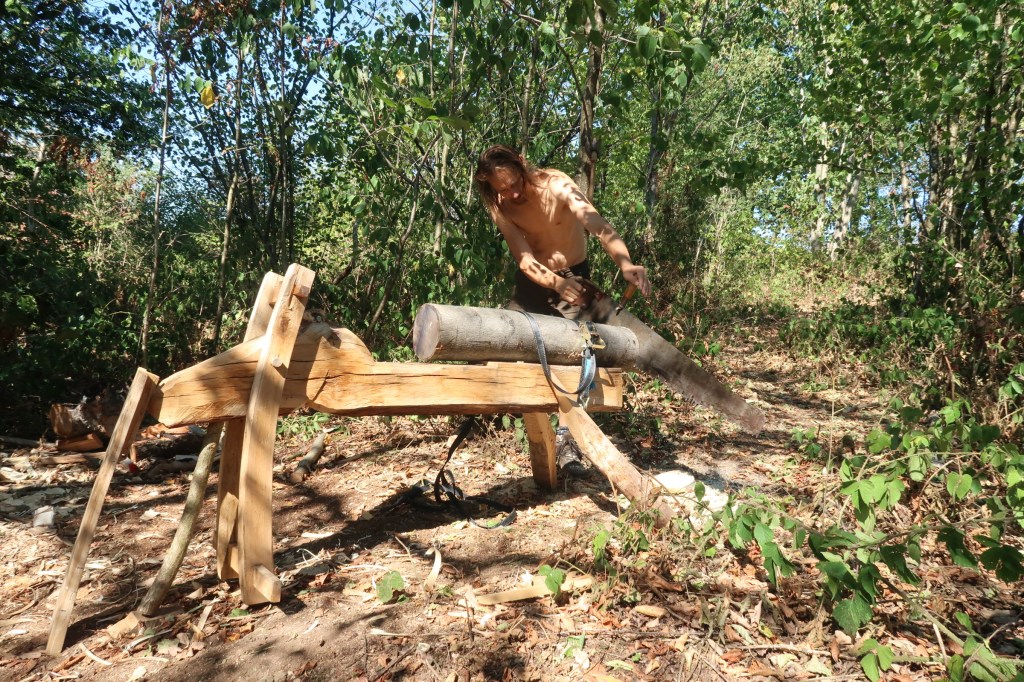
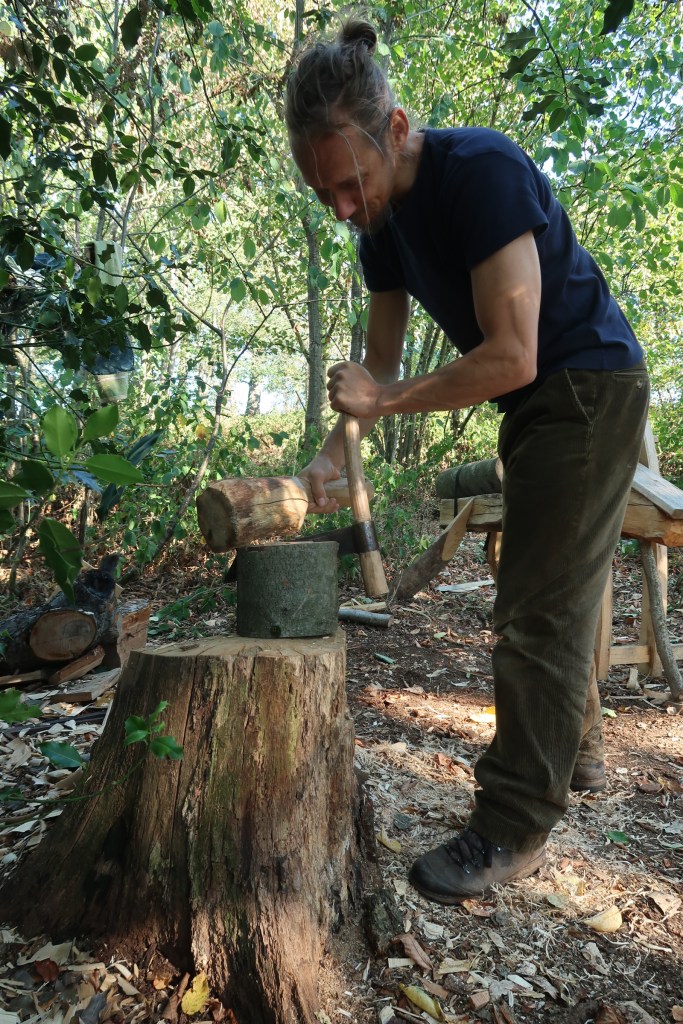
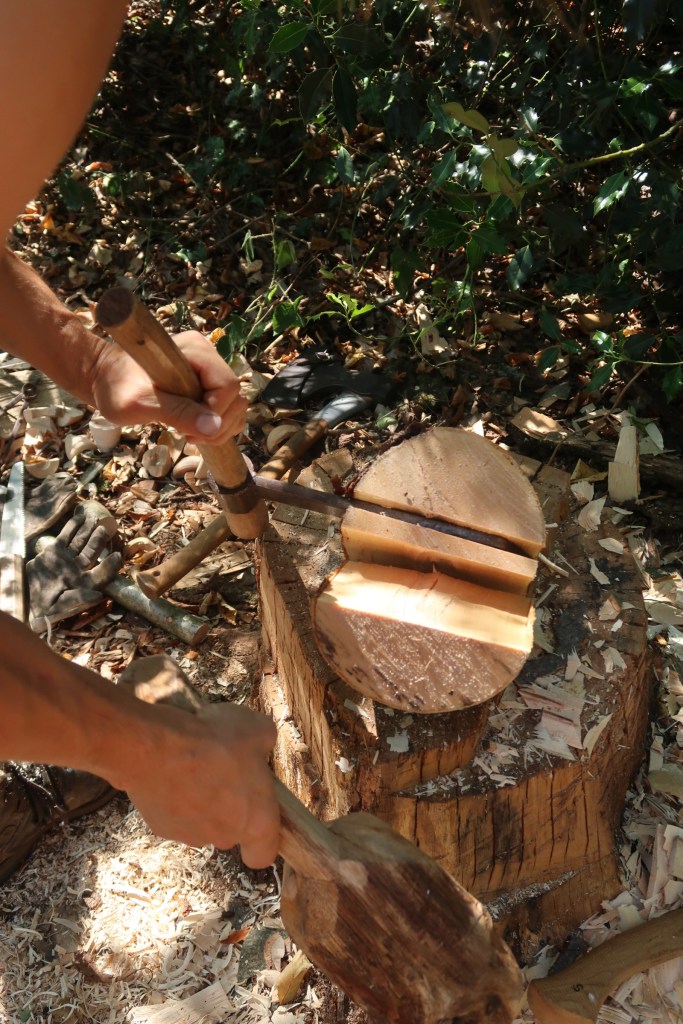
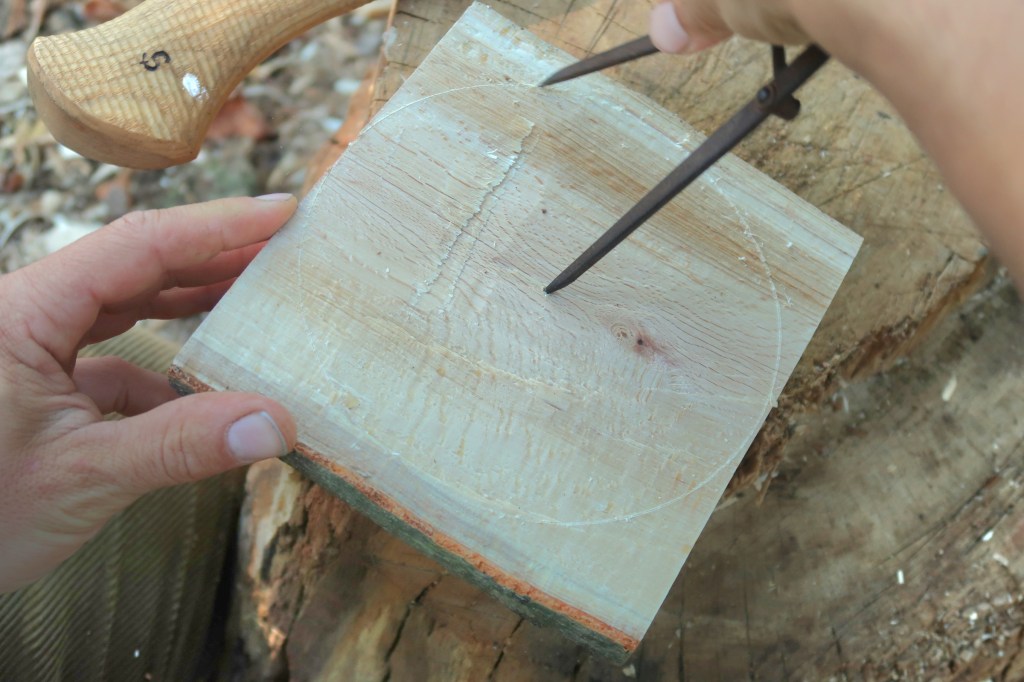
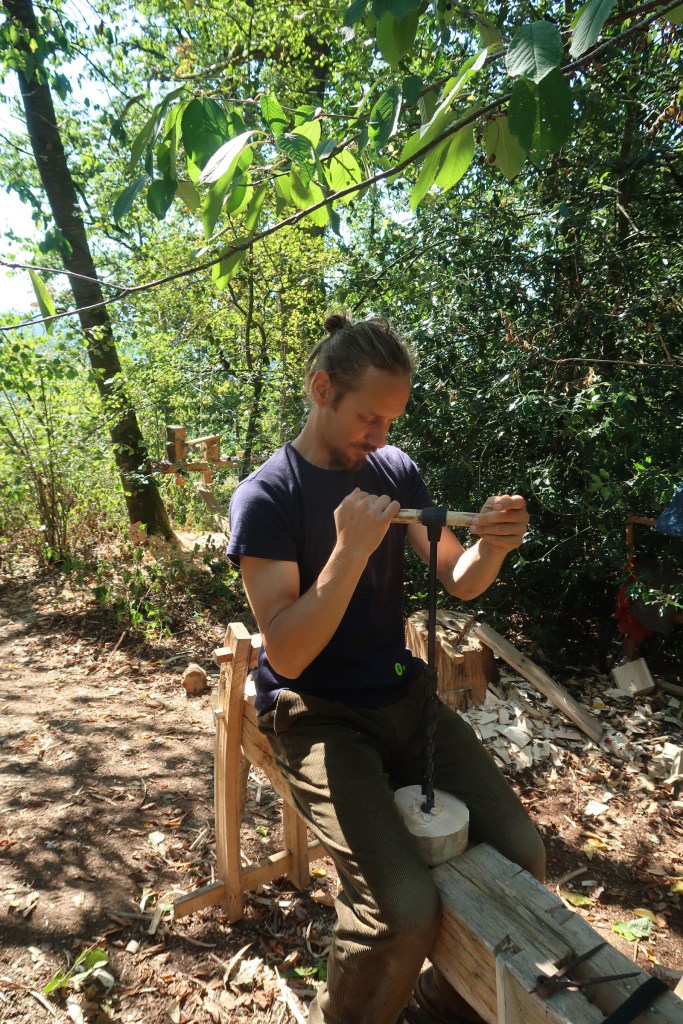
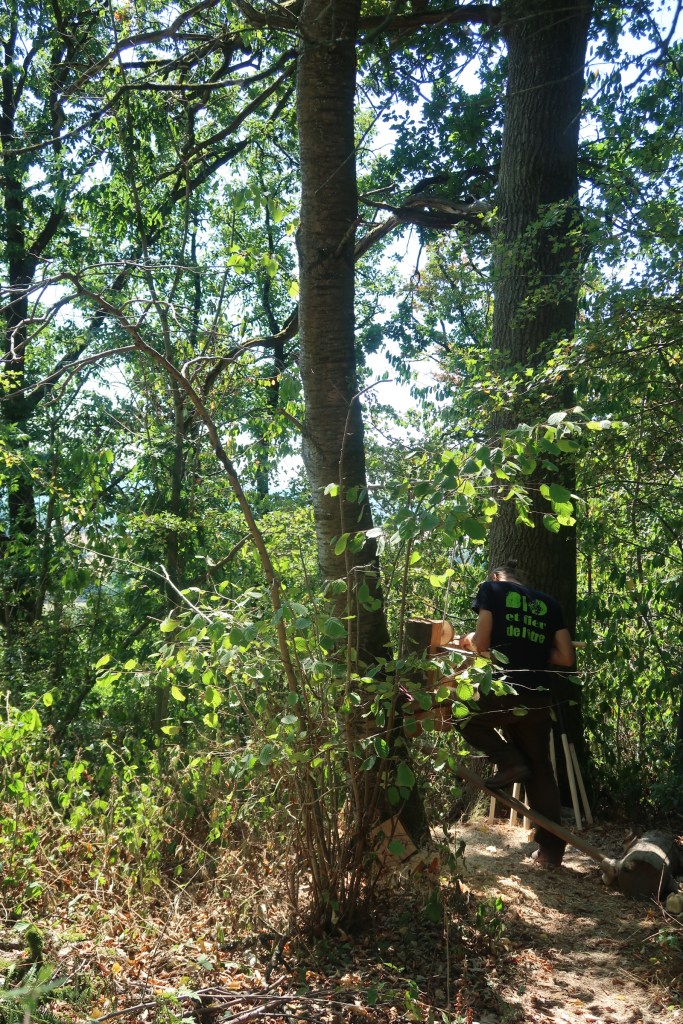
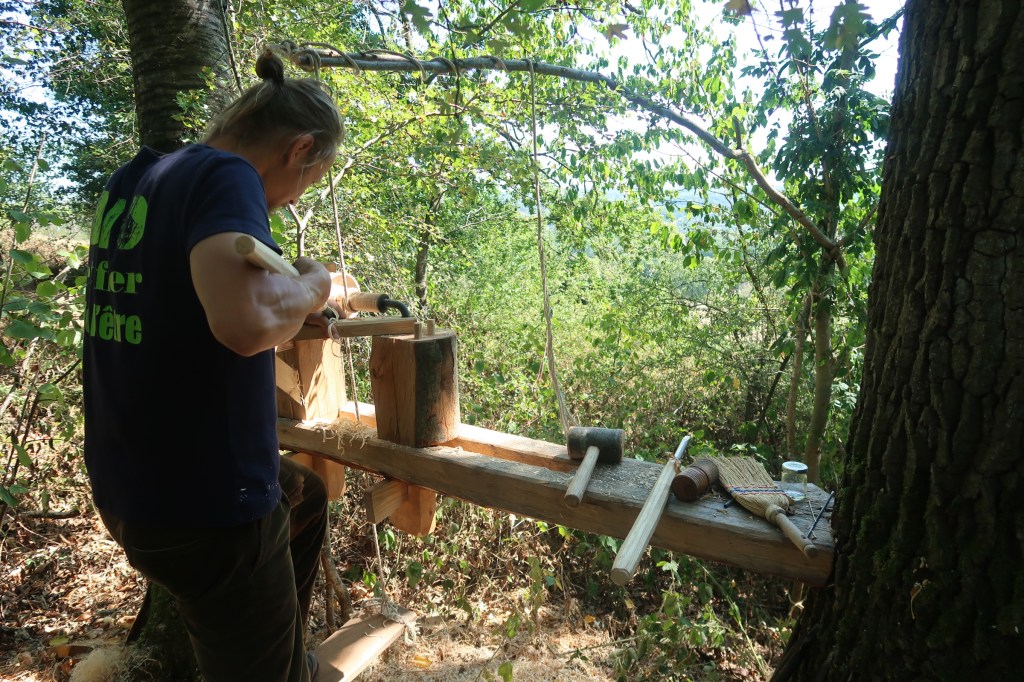
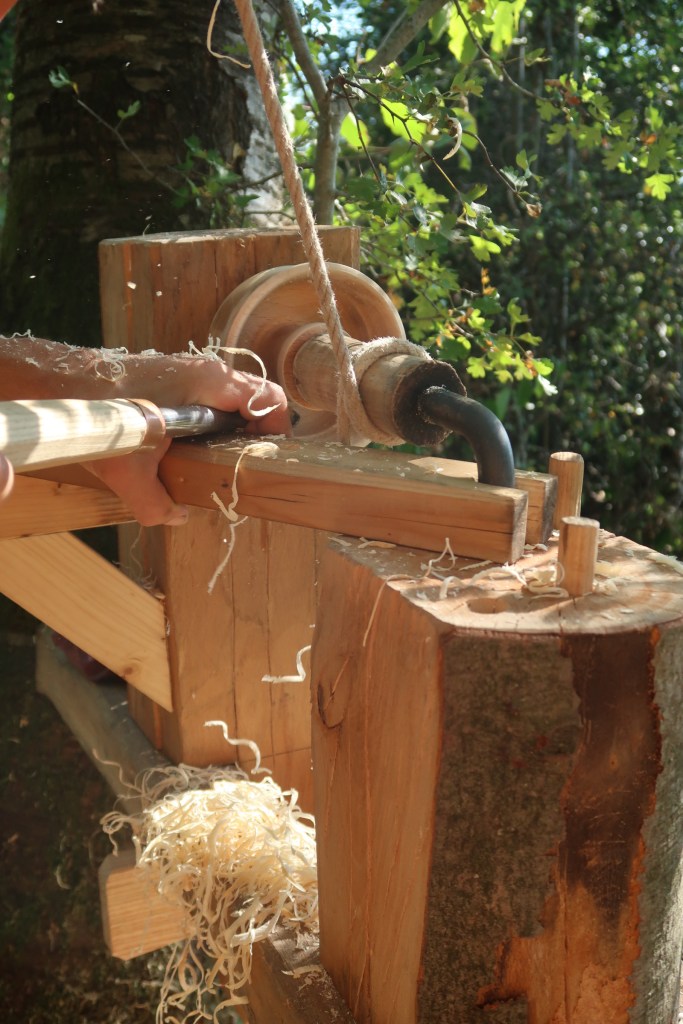
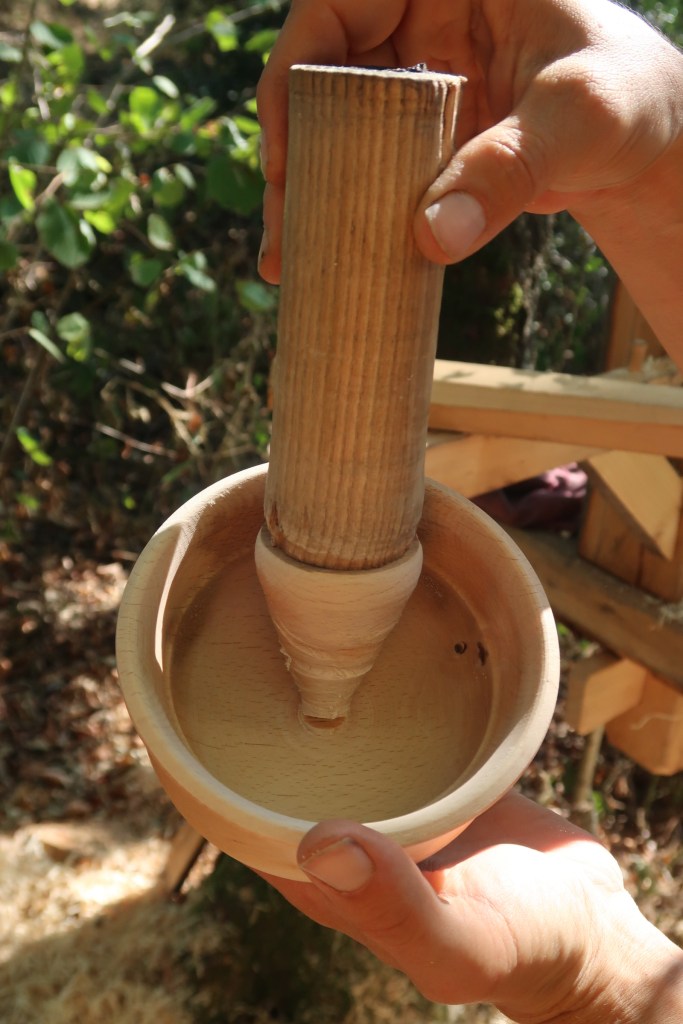
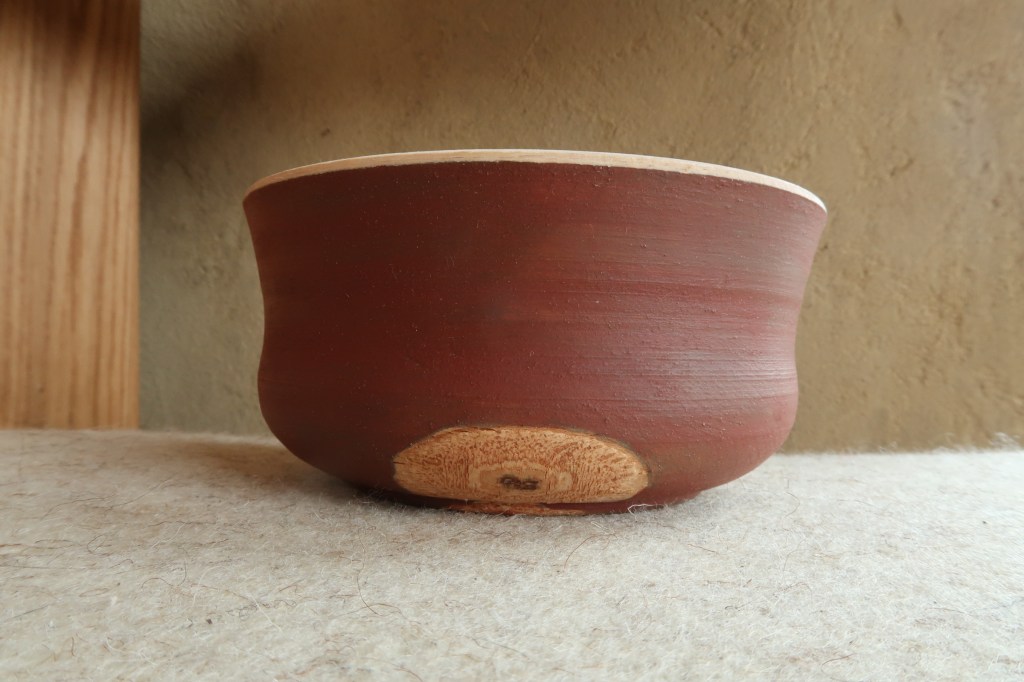
We asked around and found there is a plenty of firewood in the woods nearbyNow a selection based on experiences comes along with a bit hard muscles work to get a piece of branchCarting – i have build a simple wooden cart great for various projects. Without this simple low-tech vehicle work could be dreadfulAfter moving the piece to the camp i take one-and-a-half-man crosscut saw and slice it into piecesWork with a froe comes next. A heavier mallet is great for splitting (even much bigger beach blanks)Here it goes. A nice, fast and exact split like only the froe can do....it is better to avoid the center or “pith” as it is from where the cracks can develop. We see two halves each good for one bowl blank. Nevertheless here there was a big knot on one side so i got only one bowl from the whole piece. Now i take a trusted 1.3 kg axe into the action. Here it does a fine job of flattening the bottom of the half nevertheless the top surface needs to be flattened too and paralel with the bottomOnce it sits firmly i can draw the exact circle with this scriber – a steel compass having both ends sharp. It is meant to be a higher bowl so the circle inscribed between the two slicing cuts runs a bit apart the edgesThis can happen either before drilling a hole – i just cut all that is outside the circle with the axe – or after. Good axemanship allows to precisely place the cuts without tearing or breaking the edgesHere i drill this 25 mm auger into the center counting the turns to not to go too far. With some practice the axis of the hole just happens to be perpendicular to the top surface 🙂Once the so prepared bowl blank has been mounted on the mandrel (around which you see the two loops of the rope) i can start taking material away with the turning hook The turning hook needs sharpening throughout the process. That is extremely important as we cut a bit against the grain at some sections of the bowl and a dull blade would leave somewhat fur-like surface there. After finishing the outside of the bowl i turn the whole piece and carve in a valley. This is quite repetitive work but keeps one fully focused as if we dont keep the blade at the appropriate angle to the wood it can easily chip in (and potentialy even destroy the blade)The lathe is quite a simple instalation. I think it is a good idea to tell more about it in another post. From the distance you see me in possition of pedalling the board, that in fact causes that the bowl turns and i can make the cut.... and there is a pole (hence pole-lathe and never any other way) that with a spring (after being pushed down by my peddaling) turns the bowl back to the starting position so it can turn in direction against the blade again so the cut is possibleThe empty form of the inside is made. I switched from deepening the valley to other technique and now i want the thickness of the walls of the bowl right and with a clean finish.Simple polishing with the offcut “spagetti” makes it really shiny if the surface has a clean cutAt the end such scone is created and it is easy to break it at its weakest point away with its characteristical “pop” soundi carefully carve away any extra wood left above the botom under the breaking point inside the bowl. That is a true mark of a bowl made on the wooden pole-latheand i do the same from the outside where there was a little knob of the wood around the point that helps to keep the blank on the lathe. And “voilà” the work is (almost) finished!And here is the complete bowl. I will cover the process of paiting in another post. It is in use now gathering some patina.